After you have purchased your count hours from the countCLOUD Ordering Site and have prepared your merged video file and labelled screenshot the following process should be followed to submit a count for processing:
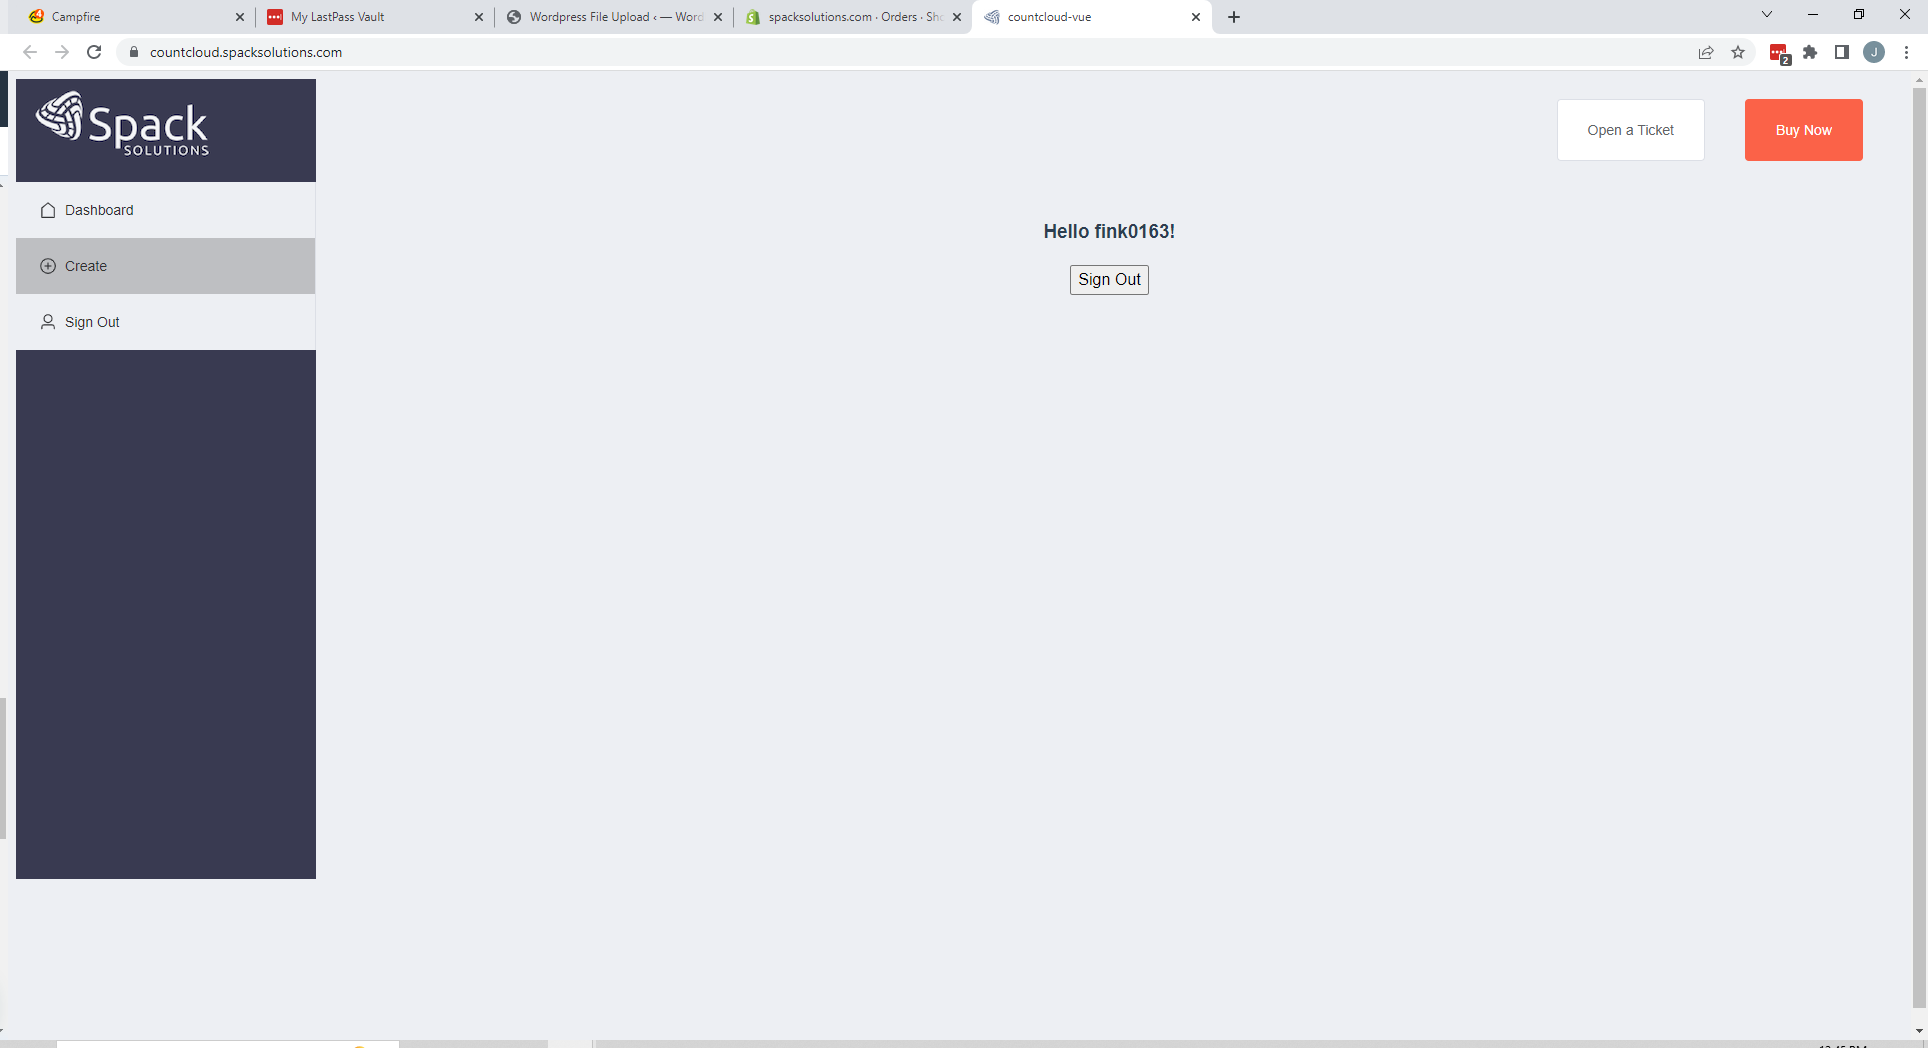
- Navigate to countcloud.streetlogic.pro and log into your profile
- If this is your first time accessing the site create a user profile.
- Please note that the email used in the user profile must match the email used to purchase count hours in order for hours to be added to your account.
- Click CREATE, on the left of the screen to access the count creation page
- Select the duration, classification schema, and quantity of counts to create.
- The cost per count, and cost of all counts, in processing hours, will be shown under your available hours.
- Click CREATE COUNT to finalize the selection.
- Navigate to the DASHBOARD page to access your newly generated count
- Your Completed and In-Process counts will also be shown on this page.
- Find the Available count/counts that match the duration and classification breakdown needed and click on the COUNT ID number to open the count submittal page.
- If submitting multiple counts hold CTRL while clicking to open a new tab in your web browser. This will allow multiple submittals to be completed at once as you cannot leave the upload page until the video file and labelled screenshot have completed uploading.
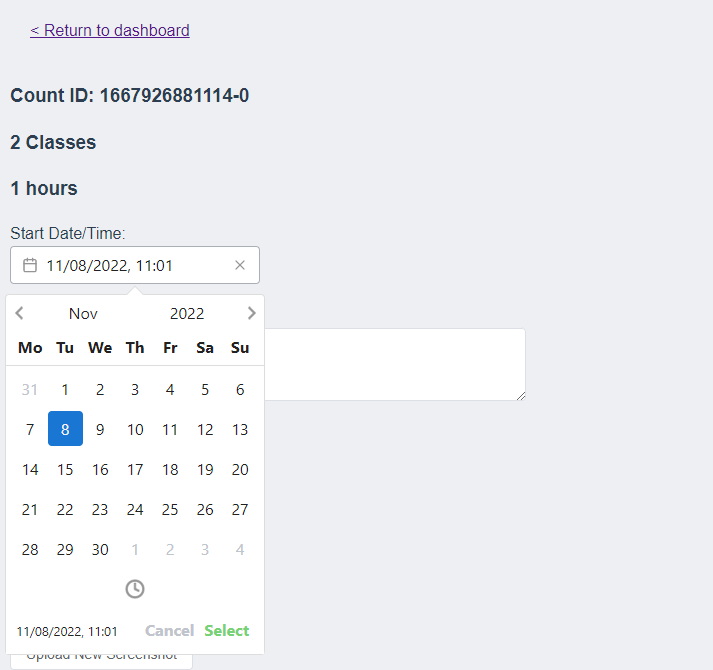
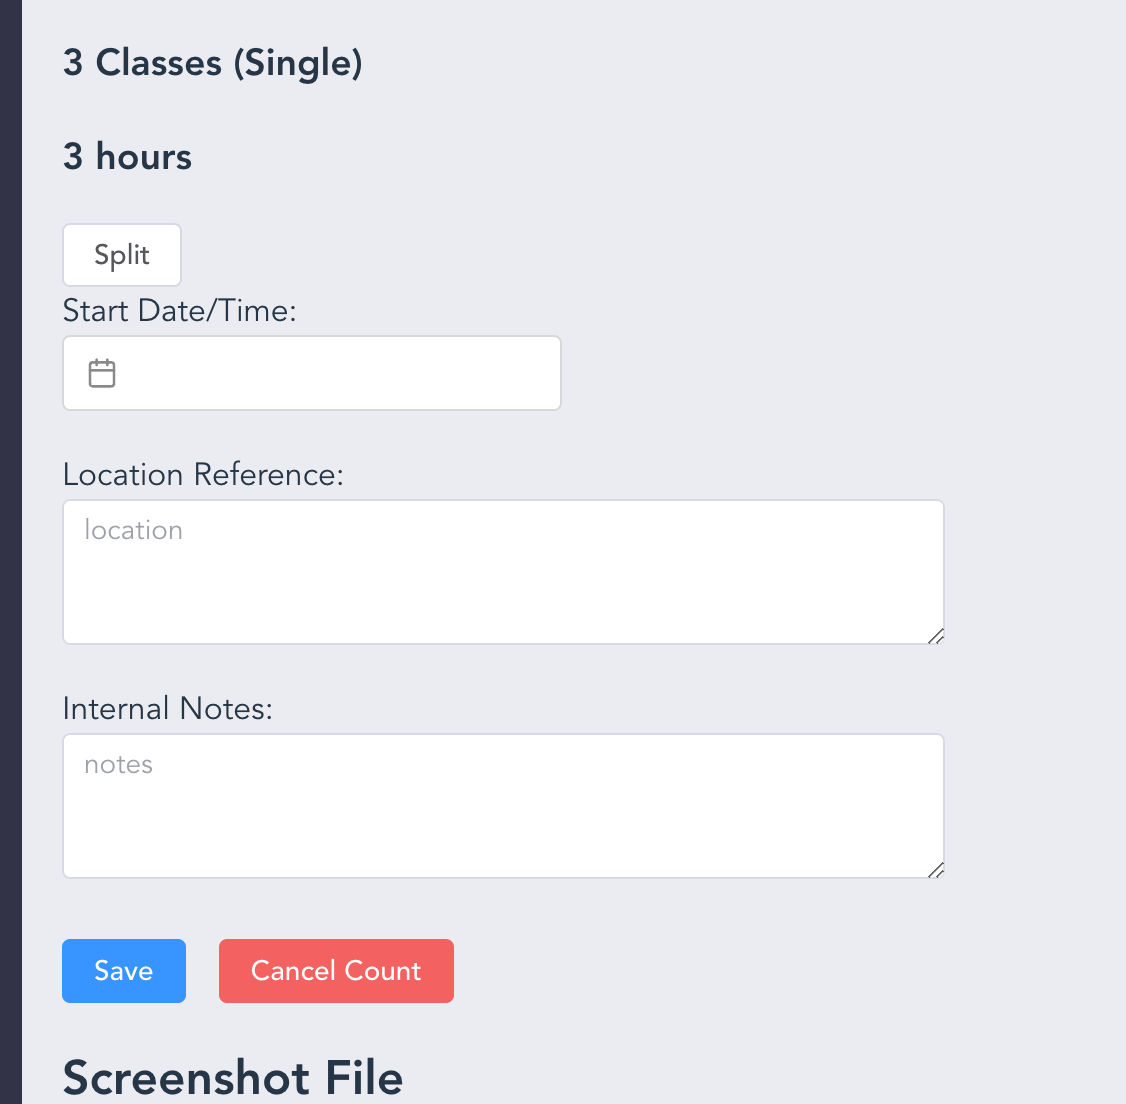
- Enter the Start Date/time using the dropdown calendar/clock. If multiple start/stop periods will be used click the SPLIT button which will allow for up to three unique start date/times to be input. The total duration of the individual count periods must add up to the total count duration to submit for processing.
-
- Enter a location Reference such as an intersection/roadway name, location ID, etc.
- Your completed count results will use the location reference as the file name
- Click SAVE
- Click CHOOSE FILE under the Screenshot File header and select and submit the labelled screenshot file
- Click CHOOSE FILE under the Video File header and select and submit the video file.
- Once both files have been received a notification will pop up in the top right corner of the dashboard and the count status will move from Available to In-Process.

-png.png)